UPDATE #43 Adopt Climate Smart Behaviors
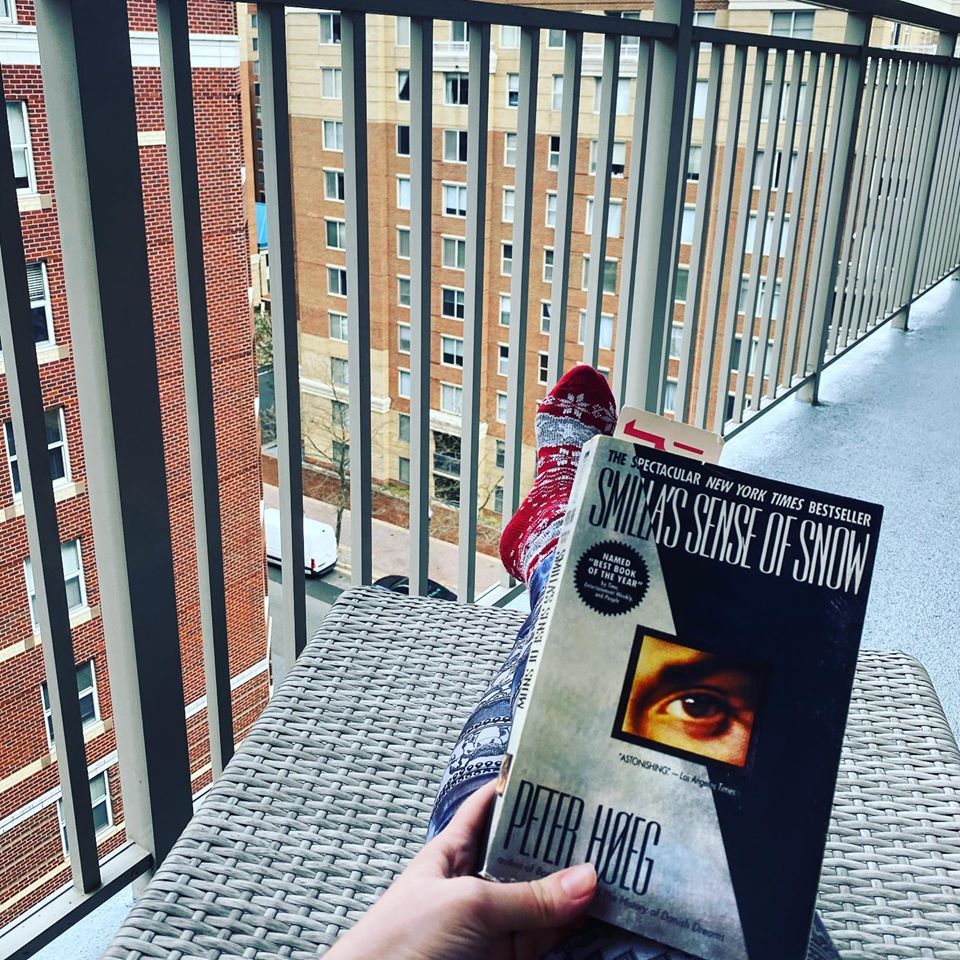 |
| Making the best of spring weather at home |
Since most of my list cannot be accomplished while I'm cooped up in the condo, I thought now would be a good time to share some updates and resources for climate smart behaviors that folks can adopt while stuck at home right now.
About a year ago, I shared seven climate smart behaviors that form the "Make It Personal" program that I work on. As a reminder, these are:
- Adopt a plant-rich diet
- Buy carbon offsets
- Contract green energy
- Don’t waste food
- Electrify your vehicle
- Fly one less time
- Get engaged politically
Today I want to give updates on A, B, and D!
Adopt a plant-rich diet
In December 2019, my household went vegetarian at home. We do not buy meat to cook at home (except for special occasions like Christmas dinner), but we can order and eat meat when we're out (or when ordering delivery/takeout in COVID-19 times).
In December, we managed to do 16/31 days meatless as a good start. In January 2020, I began tracking our meat consumption by meal, and we achieved 74% meatless meals for January through March (75%, 78%, and 70% for each month). I would guess that we only ate about 40% meatless before, so that is a huge change!
One strategy for cooking vegetarian at home has just been taking the meat out of our usual recipes - using beans or chickpeas, swapping veggie stock for chicken stock, or just putting greater volumes of veggies in for pasta or tacos or stir fry.
It has also been fun finding new recipes online or in vegetarian cookbooks, particularly when learning to cook with new ingredients like tofu, tempeh, or lentils. Some of my new favorites include:


Buy carbon offsets
For Christmas, I bought my family carbon offsets from Cool Effect. At the time, they estimated that the average American emits 16.6 tons of CO2e per year, which cost $129.98 to offset for 2019.
I was able to choose from multiple projects to get my parents a gift preventing the deforestation of a Peruvian rainforest I had visited, my cousin a wind turbine project in Costa Rica, and my brother biogas digesters for human waste (as a friendly joke!). Their gift option also lets you print out a nice certificate to give the person.
My husband and I are both fortunate enough to be teleworking full time for our jobs, so with $1,200 government checks coming for COVID-19 relief soon, this is a great time to buy our offsets for the year. If you have the resources, consider offsetting your 2019 emissions or pre-offseting for 2020 now!
My husband and I are both fortunate enough to be teleworking full time for our jobs, so with $1,200 government checks coming for COVID-19 relief soon, this is a great time to buy our offsets for the year. If you have the resources, consider offsetting your 2019 emissions or pre-offseting for 2020 now!
Don't waste food
My plan in March was to set up worm composting at home. Unfortunately, I did not have a chance to buy my supplies or grab worms from a friend before we were told to stay at home. I would like to share the instructions I received in case folks out there have the time and materials available to start now!
Worm Composting 101
Worm composting is super simple, once you get the basics down. This is a quick guide to help create your bin and figure out how to start feeding your worms and harvesting the dirt.
Setting up a worm bin
All you need is a plastic bin, moist newspaper strips, and worms.
For the bin, a standard $10 plastic bin from Target is perfect. The bin should be dark-colored as worms hate light, and it should be plastic so you can drill holes into it to allow air. Something deep enough, like a 10-20 gallon bin, is good as it allows you to have ample space for your worms to grow and prevents worms from climbing up and escaping, should they feel adventurous. You can have a smaller bin, if space is a concern, just be aware that you may have to harvest more often.
You should drill holes around the top half of the bin, like the picture below, to allow air into it. Space the drilled holes about 6 inches about, all the way around the bin. You can cover the holes with a thin wire mesh to prevent worms from escaping, but as long as your bin is healthy and well-maintained, the worms won’t want to escape.

Bin bedding should be made of newspaper strips (unbleached) or leaves that will hold moisture and contain air spaces essential to worms. Some people like sand in their bins – it’s up to you if you want to include that. If you are going to use leaves and sand, however, be aware that some insects may be lurking on them. Unbleached standard newspaper is the best way to avoid hidden insects, keep moisture, and reduce odor. Plus, worms love the taste!
For the newspaper strips, shred the newspaper into strips roughly an inch wide – see image below. Get the strips lightly damp, but not too wet. Sprinkle the newspaper strips around the bottom of the bin; about one whole newspaper is a good start. The worms will start eating the newspaper right away. Add your worms to this bin, and voila! You have started your worm composting bin.
The key things to remember are worms need moisture, air, food, darkness, and warm (but not hot) temperatures. As long as you have these key ingredients, they will be happy. For temperature, don’t go below 40 degrees or above 85 degrees. I keep my bin in my pantry closet.
Feeding your worms
When you have food scraps to feed your worms, first you need to freeze these scraps for at least one week to kill any lingering pests and/or their eggs. Put the scraps in a Tupperware bin and store it in the freezer. After a week or so, thaw the scraps and drain the moisture/liquid.
Since you are starting small, don’t feed them too much. You have to give them small amounts first, maybe a cup of scrap a week, adding more as they grow and multiply. Make sure the scraps are cut up into small pieces – big pieces of compost, like a full banana peel, is overwhelming to them. Cut everything up, and serve up the delicious meal to your worms by spreading out the scraps on the top layer of the soil/newspaper scraps. Sprinkle newspaper on top to avoid any access moisture and to mask the odor.
When starting, you only need to feed your worms every other week or once a month, depending on the amount of worms. You can save your scraps in the freezer in the meantime, and slowly add them to the bin overtime. Eventually you will have enough worms that you can start feeding them once a week. Just make sure not to overfeed them, as that makes them unhappy and they won’t be able to keep up with the pace, thereby causing the food to rot rather than be eaten; this is how odors happen.
Food/Materials to Feed the Worms
- The best food to feed worms is raw fruit and vegetable scraps. Warning – onions and broccoli have a strong order when worms first starting eating these!
- A variety of ingredients and organic produce is preferred – some pasta okay, but not too much
- Torn/shredded brown corrugated cardboard is okay to feed, but worms will always eat the fresh organic foods first
- Chocolate, loose tea and coffee grounds (light), herbs, plant parts, etc. are fair game, too
- Make sure all food scrap pieces are small
Food/Materials to Avoid
- Meats, oils, bread products, and dairy products – there are more complex materials and harder for the worms to break down, thereby attracting pests.
- Avoid processed and cooked foods, as well as overly salty and spicy foods
- Avoid orange rinds and other citrus fruits, which are too acidic and can attract fruit flies.
- You can give the worm egg shells and avocado skin, but these take months to break down; I recommend not giving these to them
Harvesting the Compost
If you take care of your worms and create a favorable environment for them, they will work tirelessly to eat your garbage and produce compost. As time progresses, you will notice less and less bedding and more and more compost in your bin. Continue to add bedding, however, as this is a great way to mask any odor from the decomposition.
After 3-5 months, when your bin is filled with compost (and very little bedding), it is time to harvest the bin. Harvesting means removing the finished compost from the bin. After several months, worms need to be separated from their castings which, at high concentrations, create an unhealthy environment for them. To prepare for harvesting, do not add new food to the bin for two weeks. Then try one of two methods for harvesting: Migration or Hands-On.
Migration Harvesting (long-term)
- Push all of the worm bin contents to one half of the bin, removing any large pieces of undecomposed food or scraps. Put fresh bedding and food scraps on the empty side of the bin. Continue burying food scraps only in the freshly bedded half.
- Over the next 2-3 weeks, the worms will move over to the new side (where the food is), conveniently leaving their compost behind in one section. When this has happened, remove the compost a layer at a time, checking to see if any worms remain. Should you find worms still in the compost, simply place them in the other half of the bin with the new bedding and food. To facilitate worm migration, cover/shade the new side of the bin and shine a light on the old side. The old side will dry out and encourage the worms to leave to find food, moisture, and darkness.
Hands-On Harvesting (short-term)
- Dump the entire contents of the worm bin onto a sheet of plastic or paper.
- Make several individual cone-shaped piles, roughly 6-10 inches high. Each pile will contain worms, compost, and undecomposed food and bedding. As the piles are exposed to light, the worms will migrate towards the bottom/interior of the pile. Remove the top layer of compost from the pile, separating out pieces of undecomposed food and newspaper.
- After removing the top layer, let pile sit under light for 2-3 minutes as the worms migrate down again. Then remove the next layer of compost, returning worms to the bin as they appear.
- Repeat this process until all of the worms are left at the bottom of the pile.
- Collect the worms, and put them back in their bin with fresh bedding.
Regardless of which method you choose, the compost you harvest will most likely contain a worm or two, along with old food scraps and bedding. If you are using the compost outdoors, there is no need to worry-- the worms will find a happy home and the food scraps and bedding will eventually decompose. If you are using the compost indoors, you may want to remove old bedding and food scraps for aesthetic purposes and ensure that there are no worms in the compost. Though the worms will not harm your plants, the worms may not like living in a small pot.
Using worm compost
You can use your compost immediately, or you can store it and use it during the gardening season, or whenever. The compost can be directly mixed with your potting soil or garden soil as a soil amendment, which helps make nutrients available to plants. Or, the compost can be used as a top dressing for your indoor or outdoor plants. You can also make "compost tea" with your compost. Simply add 1-2" of compost to your water can or rain barrel. Allow compost and water to "steep" for a day, mixing occasionally. Then water plants as you normally would. The resulting "tea" helps make nutrients already in the soil available to plants.
Things to look out for and mistakes to avoid
- Overfeeding: Don’t overfeed the worms; they won’t be able to keep up, so the food will rot and start to smell. Start small and eventually add food over time, constantly monitoring their intake
- Escaping worms: If you see worms trying to escape, it means something is wrong. Most likely their bin is too wet or too dry, there is a lot of undecomposed food they don’t want, or there’s too much compost and you need to harvest.
- Pests: Inevitably some will appear. Tiny tiny white bugs are completely harmless, simply fellow decomposers. They will appear and disappear in flows, so you don’t need to worry about them. Anything bigger, like normal flies or fruit flies, means some lurking eggs or vermin did not die during the week-long freeze. These will eventually leave, but you may have to harvest the dirt prematurely to separate the unwanted vermin from your worms.
- Mold: Mold can occur in your bin, especially when you are just starting it. White mold is completely normal and harmless, and the worms will eventually eat this. You can also remove it by hand. Any dark mold is a bad sign, and should be removed immediately; this may require you to clean out the bin and start with new bedding and no food for a while.
- Baby worms: Worms will reproduce and multiply like crazy, and tiny orange balls are their eggs. When they hatch, tiny little white wigglers will appear. They will grow and turn red over time. Try to find and keep them when you harvest.


Comments
Post a Comment